

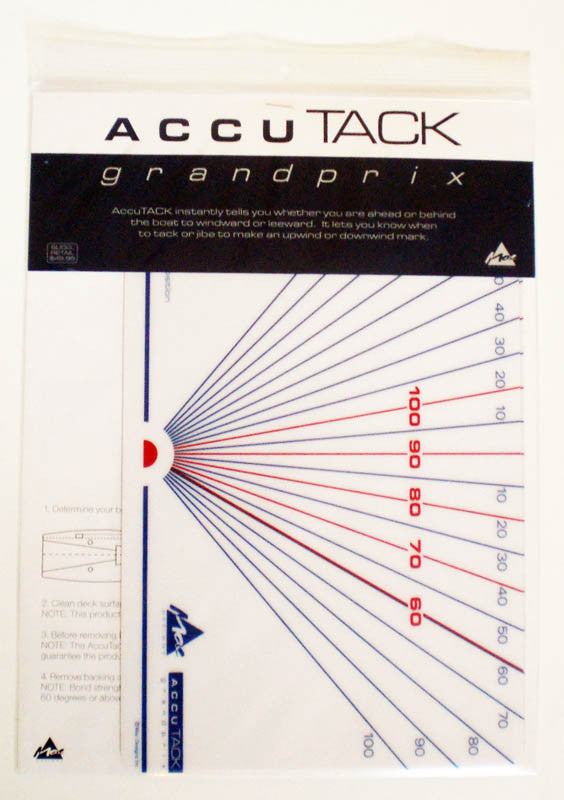
ACCUTACK
Regular price $ 49.95Easy to Install Tacking Lines
Did you ever wonder how top sailors seem to know exactly when to tack in order to cross ahead of a boat to windward? Or how they know precisely when to tack or jibe to get on the layline for the next mark? Often the tacticians on America's Cup boats, 50 footers, and dinghies scribble lines (pre-figured sighting angles) on the deck to help them make these decisions. But now, with the Accutack there is a better way. An easily installed and simple-to-use deck application makes it possible for anyone to make tactical decisions the way the best sailors do.
Dimensions/Material
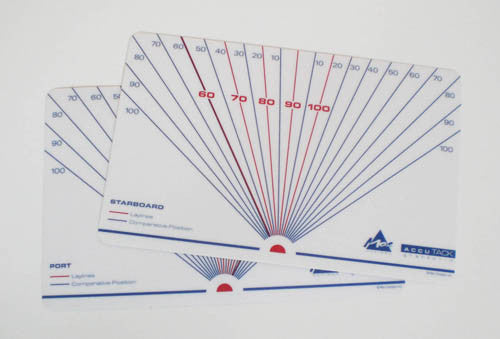
Dimensions and Material: Port and Starboard 11" x 7" heavy weight Mylar appliqués with 3M adhesive. Designed to adhere to non-skid or painted surfaces.
Instructions
Laylines - Upwind
Step 1: Determine your tacking angle.
This angle is best determined by recording your compass heading while sailing close-hauled on one tack, then tacking and recording the new compass heading. The difference is your tacking angle.
Step 2: While sailing close-hauled, sight across the red lay line on the windward AccuTack that corresponds to your tacking angle. On the opposite tack, you can get to any object that is aligned with this red “lay line.” If the object is forward of this line, you will need to sail farther on your existing tack before you can tack and clear it on the opposite tack. If the object is behind the line you will need to sail lower than your upwind course to get to it.
Laylines - Downwind
AccuTack works essentially the same way downwind as upwind. The only difference is that you need to determine your jibing angle rather than your tacking angle.
Step 1: Determine your jibing angle.
This angle is best determined by sailing downwind at your optimal jibe angle and recording your compass heading. Then jibe and sail until you are up to the same boat speed and apparent wind angle, and record this compass heading. The difference is your jibing angle.
Step 2: Sight across the red layline on the leeward AccuTack that corresponds to your jibing angle. You can jibe and get to any stationary object at your optimum jibe angle if the object is on that line. If the object is forward of that line you will need to sail further before jibing. If the object is behind that line, you will need to sail higher than your optimum angle to reach it.
Comparative Position - Upwind
Step 1: Determine your tacking angle as above.
Step 2: If you have a boat ahead of your beam and to leeward, sight along the forward blue line on the leeward AccuTack that corresponds to your tacking angle. If the boat to leeward is on the extension of that line, it is even with you. If it is ahead of that line, it is ahead of you. If it is behind that line, it is behind you.
Step 3: If you have a boat behind your beam and to windward, sight across the aft blue line on the windward AccuTack that corresponds to you tacking angle. If the boat to windward is on the extension of that line, it is even with you. If it is ahead of that line, it is ahead of you. If it is behind that line, it is behind you.
Comparative Position - Downwind
Step 1: Determine your jibing angle as above.
Step 2: If you have a boat behind your beam and to leeward, sight along the aft blue line that corresponds to your jibing angle. If the boat to leeward is on the extension of that line, it is even with you. If it is ahead of that line, it is ahead of you. If it is behind that line, it is behind you.
Installation
1. Determine your boat's centerline axis to ensure accurate alignment with centerline designation on the AccuTack.
2. Clean deck surface, removing all dirt, grease, and salt. Surface must be dry for AccuTack to adhere properly! This product is designed for painted or gelcoat decks only. Do not use on wooden decks.
3. Before removing backing on AccuTack, position as desired and mark location with pencil. The AccuTack is deigned to adhere to smooth surfaces and non-skid surfaces of fine to medium grit. We cannot guarantee the product's successful application on rough surfaces.
4. Remove backing and secure AccuTack to appropriate location on deck, pressing firmly and evenly. Allow to set for 72 hours. Bond strength can be improved with firm application and moderate heat. Surrounding air temperature must be 60 degrees or above for AccuTack to adhere successfully.